Summary
Step 1: Prepare the substrate
Step 2: Prepare the plaster
Step 3: Apply the first coat to the wall
Step 4: Apply the second layer to the wall
Step 5: Apply a coat of wax on the wall
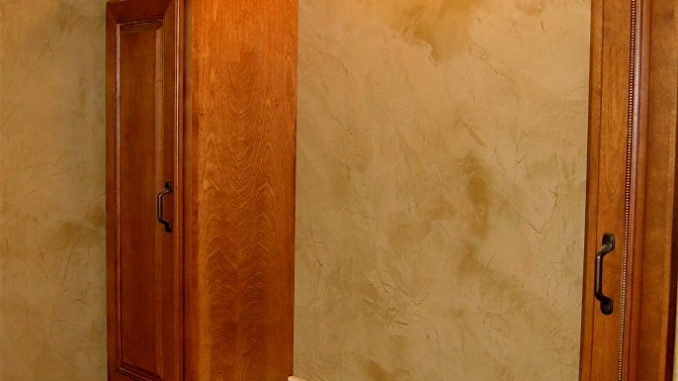
Venetian plastering is a decorative finish coating based on air lime and marble powder (or white marble sand). Its shiny and smooth appearance is reminiscent of marble, hence its other names in other parts of the world, “marmorino coating or stucco marble”.
Making a stucco wall is a little tricky to implement. Indeed, Venetian plastering requires a certain technique and a consequent time of execution: three layers, more and more thin, smooth, and pressed, are traditionally applied on the wall.
The application of stucco on a wall can, be carried out by professionals and also non-professionals. If you are a DIY enthusiast, you can start with small areas.
Tips for working with lime

Make sure to work in temperatures between 10 and 18 °C to prevent stucco from drying out too quickly and becoming glazed.
In order to correctly tint stucco, follow the dosages indicated for each preparation, so as not to saturate it.
The plaster can be applied on all supports (rough and porous), except on those already coated with cement or already painted with synthetic resin. On plaster or plasterboard, the lime may flour and peel off. An undercoat of matt mineral paint is then essential.
Remove glossy or satin paint and apply an undercoat of mineral paint before carrying out the stucco work.
1. Prepare the substrate
Before preparing the stucco and applying it, prepare the wall :
Fill the cracks and holes in the wall with plaster and a spatula.
If necessary, wash, sand and dust it.
If the wall is porous or dry, moisten it for better adhesion with a sprayer the night before or a few hours before application.
2. Prepare the stucco
In a container:
Using a mixing nozzle mounted on the drill, mix one-part lime, one part marble powder and one part water.
Then add the pigments (15 to 20% of the total weight of the preparation) and casein (1% of the initial weight of the lime).
Knead again until the preparation is smooth and homogeneous.
3. Apply the first coat to the wall
Using the smoothing machine (trowel), apply a first thin coat of 1 to 2 mm, making circular movements on the wall, without worrying about possible holes.
Work in small areas one at a time, paying particular attention to corners and edges. Leave to dry for about 2 hours.
4. Apply the second coat to the wall
Prepare a new mix of a different colour or tone by playing with the dosages (see step 2).
Using the smoothing machine (trowel), apply the second coat while the first one is still wet. With this coat, which is thinner than the previous one, fill in the white areas left over from the first coat and smooth out the relief. If necessary, trowel the support to even out the wall.
The next day, proceed with the fitting or tightening:
Smooth and pull the two layers by pressing harder on the wall with the smoothing machine and making cross passes, horizontally and then vertically.
Remove any white veils left by the whitewash with a flat brush and water.
5. Apply a coat of wax to the wall
The next day, to protect the stucco and give it an extra shine:
Apply a coat of white wax all over the wall with a flat brush.
Then wipe the surface with a cloth to polish it.
So, that’s it! Hope the above tips help you out with your home decor. Remember to share your experience in the comment section below.

Leave a Reply