

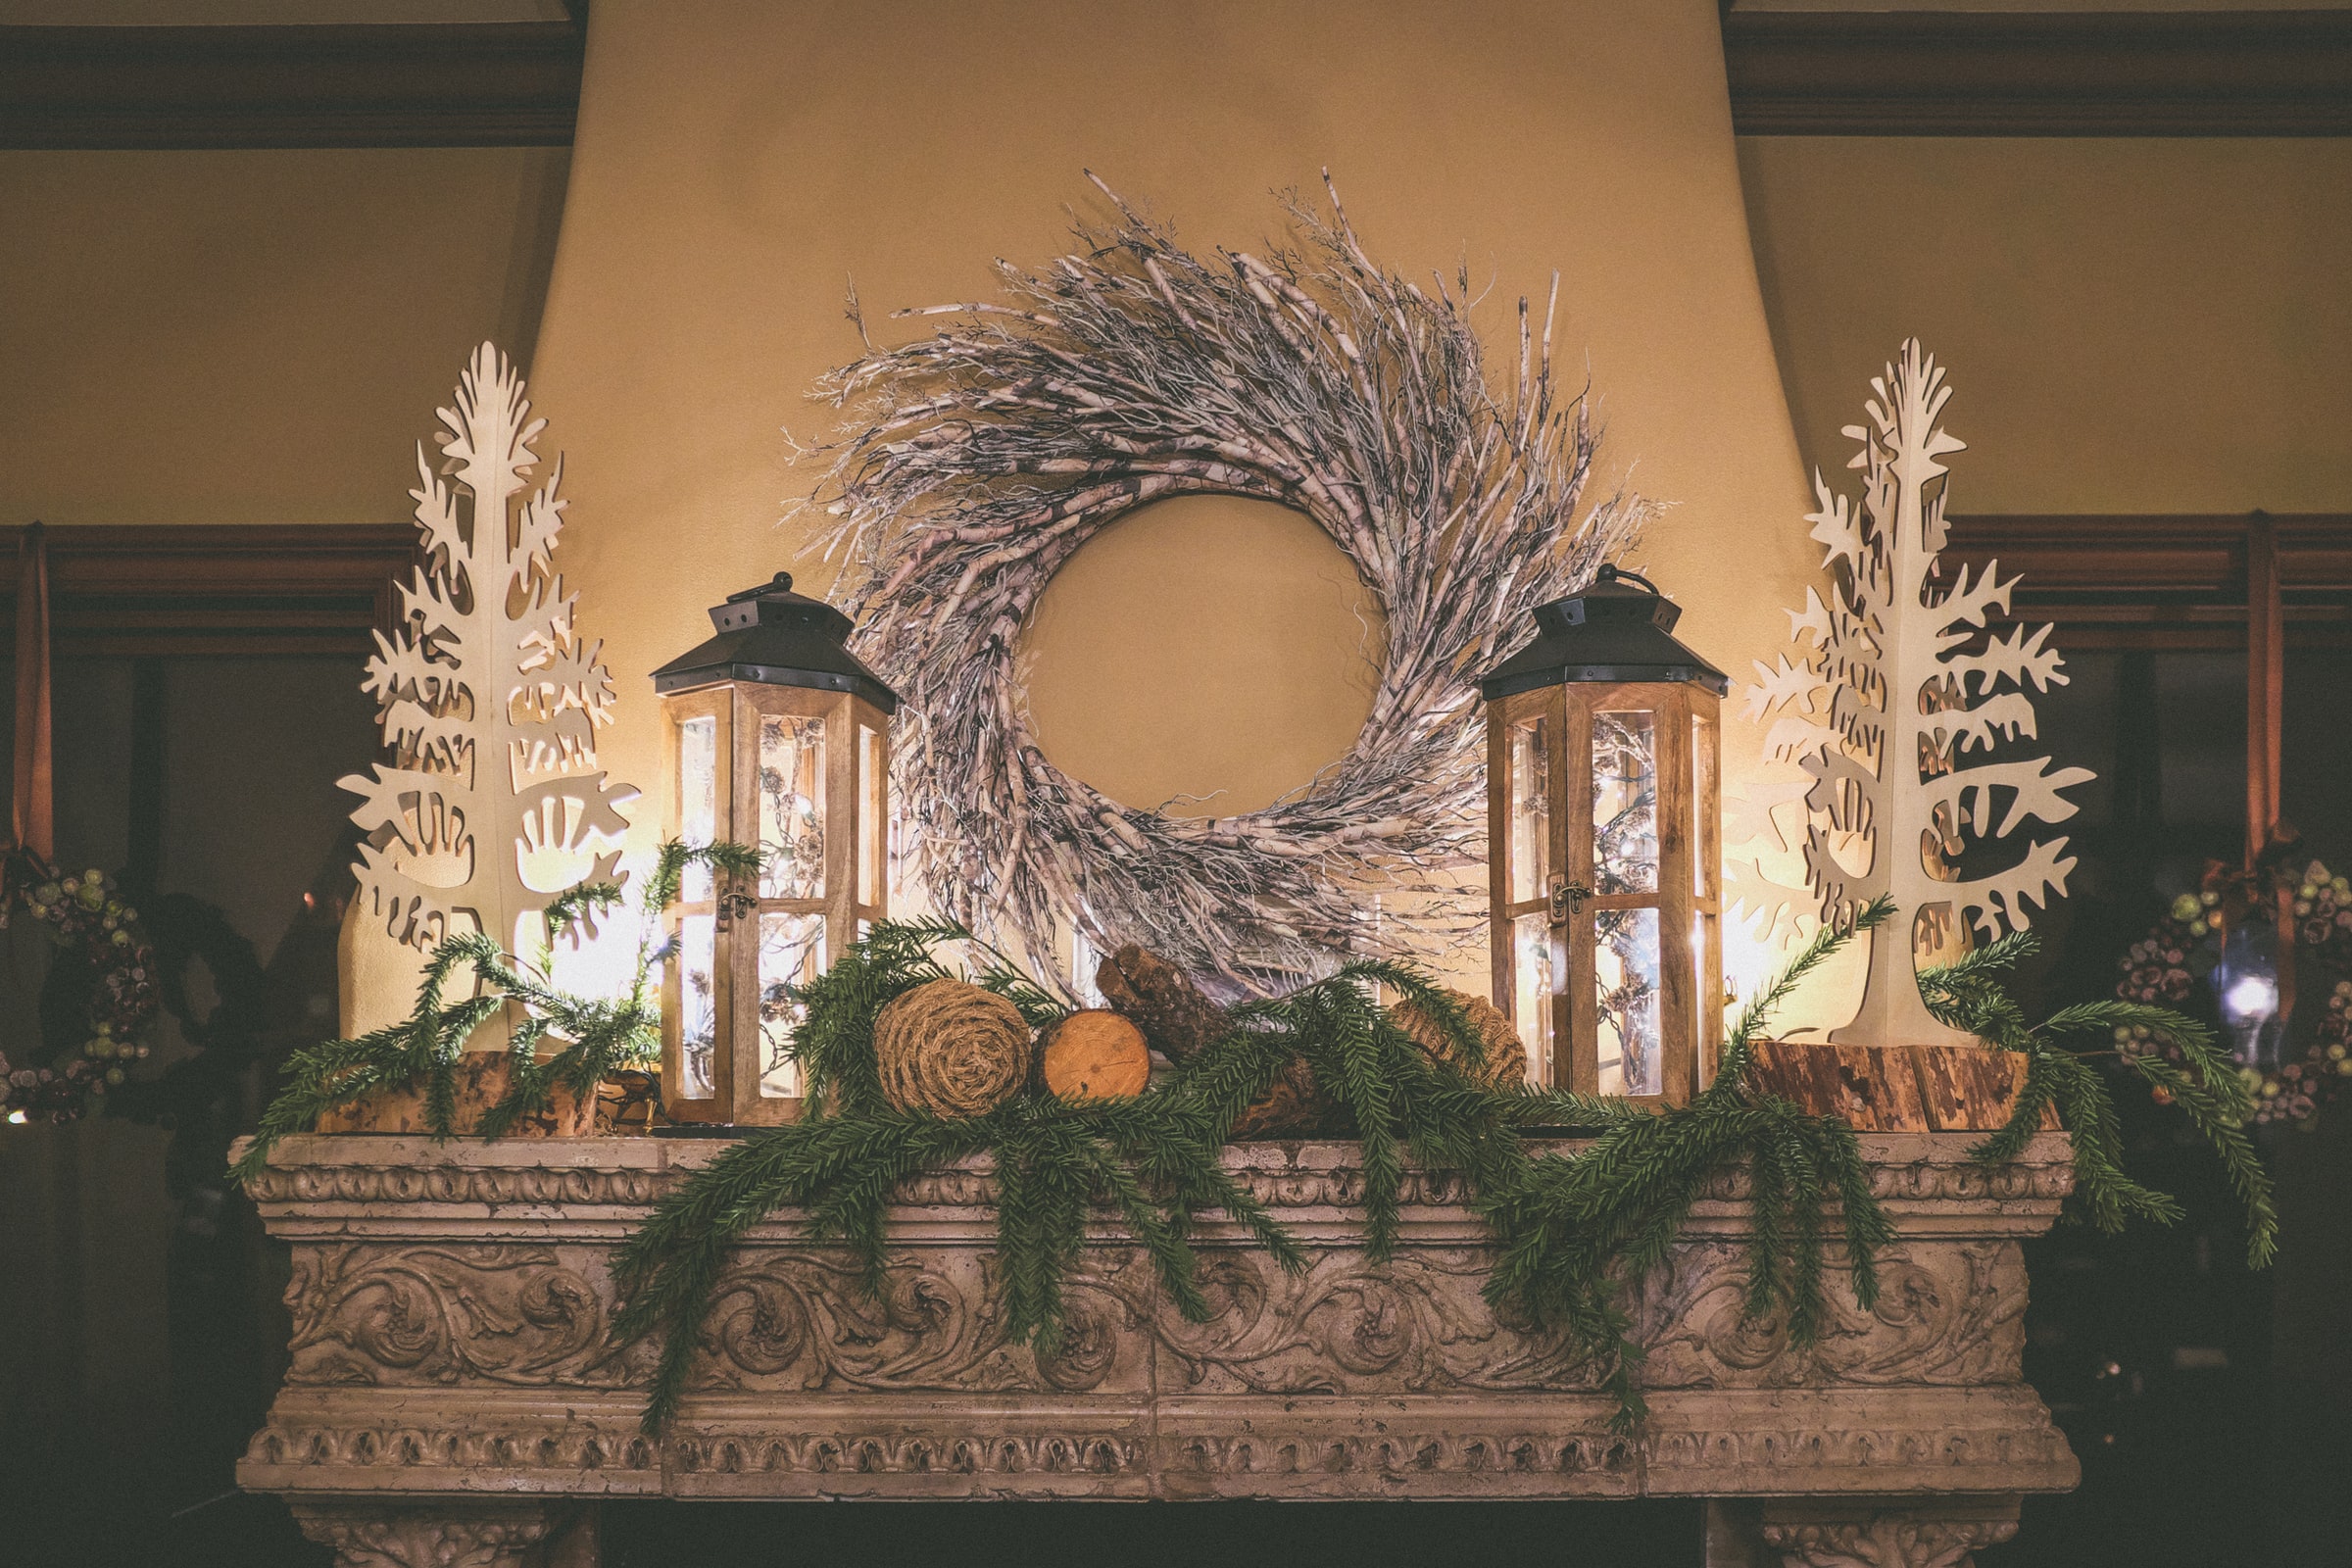
Today, decoration is the best way to make your environment attractive and warm. It can be done throughout the house, from the inside to the outside. However, transforming a room or furniture does not necessarily require a big change. To do this, the creation of decorative moldings can easily bring a new style and be very chic. So how do you create decorative molding?
Some materials to use
You can seek the assistance of a company specializing in the realization of moldings in order to know the equipment necessary for the creation of moldings. Indeed, it should be noted that to carry out an idea of creation of moldings; it is advisable to have in its possession a miter saw, the glue of fixing, and a gun with a cartridge.
It is also good to have acrylic putty, nails without heads, a hammer, a pencil, and a long level of more than about 100 cm in length without forgetting a square, sandpaper, and brushes with rollers and paints included.
Drawing the markers
Once the material is known, either through the expertise of a private individual or a company that also performs sound insulation work, it is necessary to identify the places where the moldings will be fixed. The first thing is to locate the height of the molding with the meter. Then, you have to draw the low reference line with the level.
Then, it is necessary to transfer the height of the molding with the square in order to draw a high reference line. The second step is to draw the markers for the patterns. Always using the tape measure, the level, and the square, you must mark the locations according to the chosen model.
Realization of the cuttings
The realization of the cuts is one of the key steps in the creation of moldings. It requires a lot of attention and precision in order to save money. Indeed, taking into account the marks previously traced, measure the lengths to be cut and transfer them to the moldings.
The cuts are then made with a miter saw and must be done in a precise and clean way. The advantage of the miter saw and making clean cuts is that it allows going faster even with a large number of cuts, this while placing the molding to be cut in the saw and then adjusting the angle.
For this purpose, in order to obtain square or rectangular patterns, the angle of the saw should be set at 45° so that it can form a right angle during assembly. The second molding is cut in the opposite direction but still at 45°.
Attaching the moldings
Once the moldings have been cut, they must be fixed with a glue gun and nails. The glue cartridge is opened and placed in the gun. The gun ready to use will be used to deposit a bead of glue on the back of the molding.
Then, it is necessary to pose by locating the high line and the top of the molding and stick while exerting intense pressure. Nail with headless nails to reinforce the fastening. These will be invisible once the molding is painted. Other moldings can be installed in the same way.
Creating a clean finish
To complete your work and give comfort and value, apply a joint of acrylic putty with the help of the glue gun. As soon as the sealant is applied, moisten a finger to smooth it. Then, well after the glue and putty have dried, paint the moldings using a brush.
The paint takes the reliefs and hollows. And finally, for a beautiful finish, it is ideal for painting the walls with a roller without forgetting to smooth the edges of the moldings with small rollers.
Sound off in the comments section below and tell us what you want to read next and if you want to read more about decorative plasters.
Leave a Reply