
")
Contents
– Step 1: Have a plywood panel cut to size
– Step 2: Cover the panel with batting
– Step 3: Cover the upholstered headboard with fabric
– Step 4: Draw a pattern for the upholstery
– Step 5: Make the upholstery
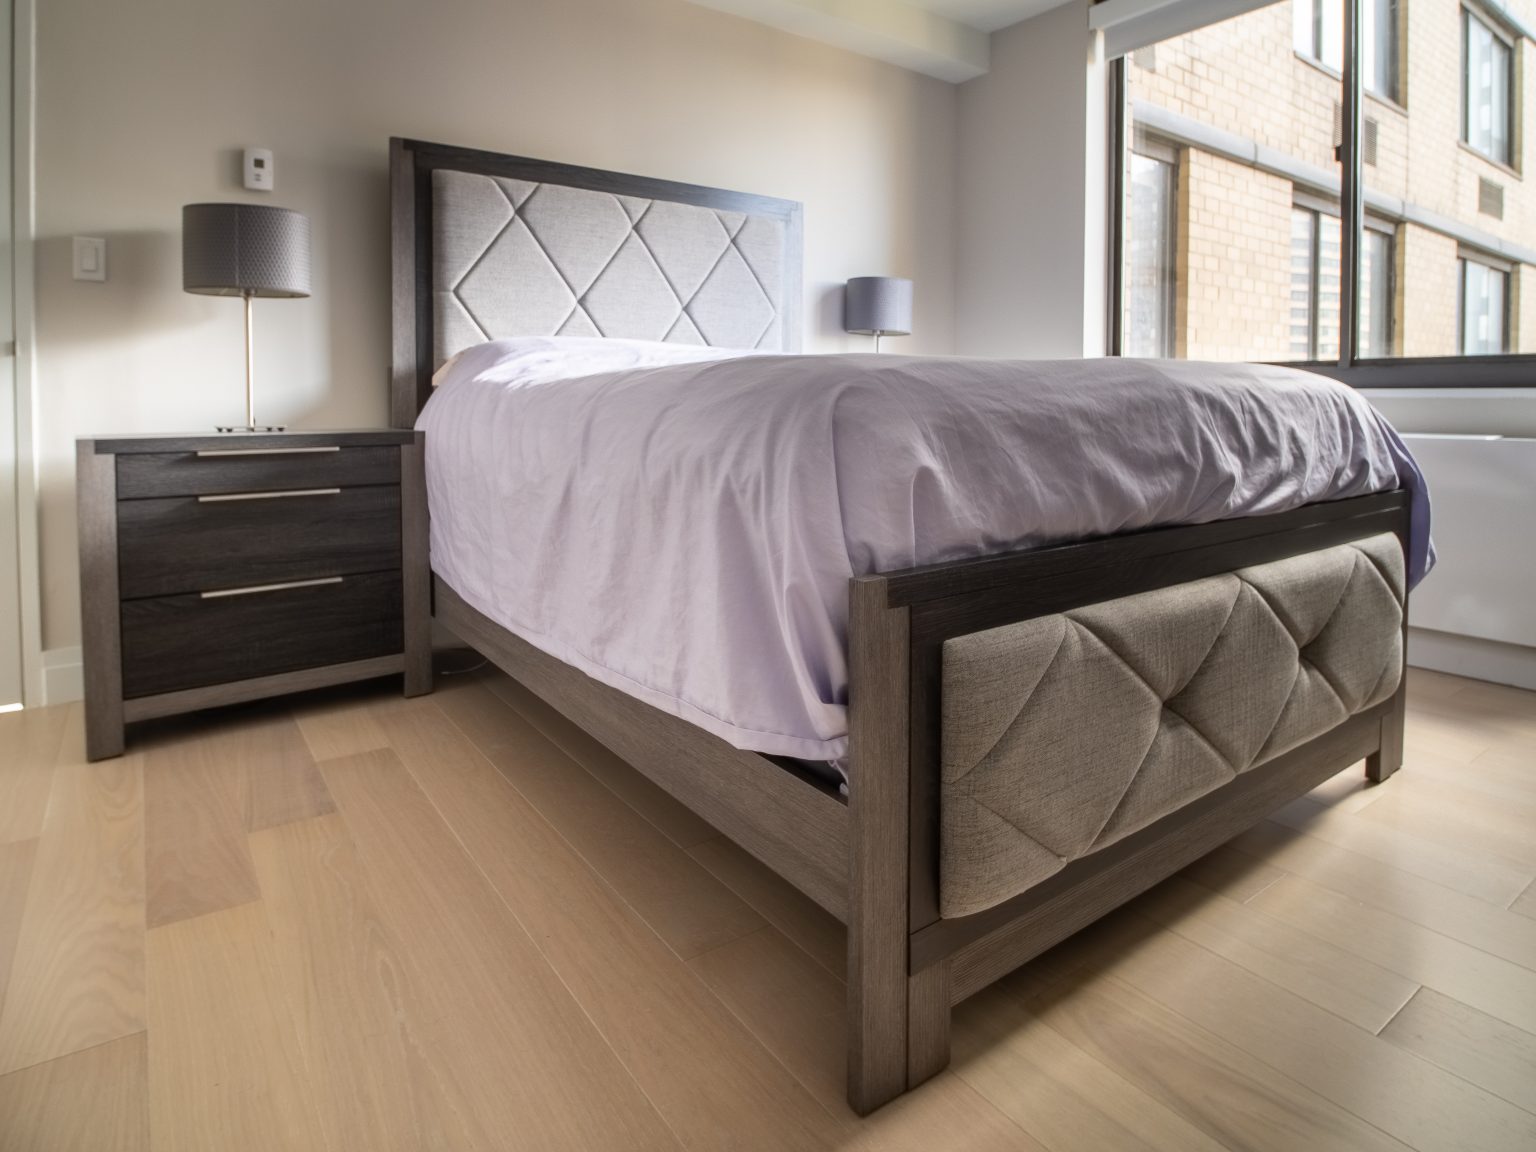
An upholstered headboard introduces a touch of coziness to a bedroom. It is an easy DIY task, which offers the advantage of designing your exact measurements and matching your curtain fabric or bedroom tones.
This post explains how to make an upholstered headboard from a panel of plywood covered with a triple layer of wadding, then a fabric in which you will drive upholsterer’s nails to create the cushion.
1. Have a plywood panel cut to size
The headboard is made from a 10mm thick plywood panel whose dimensions you define according to your taste:
– The width of your panel should be at least that of your bed + 10 cm, that is to say, 150 cm minimum for a 140 cm bed. However, nothing prevents you from cutting a wider panel if you want the headboard to overflow on each side of the bed.
– The panel’s height depends on the effect you want to achieve and the height of your bed: to do this, measure the height of the bed (with the mattress) and add the desired visible height for your headboard. A typical total height is about 1.20 m but can be adapted to the style of your room and your bed.
2. Cover the panel with wadding
For a headboard that is 4 feet high and 4 feet wide, get 10 feet of batting in 4 feet wide.
– Measure with a tape measure and cut 3 pieces of batting, each to the following dimensions:
◦ 1.60 m wide (= panel width 150 cm + 10 cm);
◦ 1.30 m high (= height of panel 120 cm + 10 cm).
– Lay the 3 pieces of wadding on the floor, overlapping them precisely.
– Lay the plywood panel on top, exactly centered.
– Fold the padding and staple it to the panel, folding the corners well.
3. Cover the upholstered headboard with fabric
– Preferably choose a thick fabric.
– Measure and cut the fabric to the following dimensions:
◦ 1.70 m wide (= panel width 150 cm + 20 cm)
◦ 1.40 m high (= height of the panel 120 cm + 20 cm)
– Lay the fabric on the floor, right side up.
– Lay the wadded panel on top, wadded side against the fabric.
– Center the panel well.
– Fold one side of the fabric over the panel and staple it to the panel.
– Fold the opposite side of the fabric over the panel, pulling the fabric slightly, but not excessively. Staple the fabric to the panel.
– Fold and staple the 3rd side of the fabric, carefully folding the corners, like a gift box.
– Fold over the 4th side of the fabric, pulling the fabric slightly. Carefully fold in the corners. Staple the fabric to the panel.
4. Draw an upholstery pattern
– Cut a piece of kraft paper the width of your headboard and equal to the height between the top of the mattress and the top of the headboard (it is not necessary to upholster the part of the headboard that you will hide by the box spring and the mattress).
– Draw the desired upholstery for your headboard with a black pencil on this template, in other words, the locations where you will hammer the upholstery nails, for example:
◦ nail spacing of 10, 15 cm or more;
◦ arrangement of nails in a square or staggered pattern.
5. Make the padding.
Using pieces of masking tape used in painting, attach the kraft template to your headboard.
– Prick a dressmaker’s pin in each of the marked locations.
– Cut the kraft paper between the rows of pins and remove it, leaving the pins in place.
– In place of each pin, hammer in an upholstery nail.
Your upholstered headboard is finished; now, all you have to do is slide it between the wall and your bed!
Materials needed to make an upholstered headboard.
| Wall stapler | $8 |
| Sewing scissors From | $15 |
| Brushed aluminum nails | $20 per 1000 |
| Pencil | $0,50 |
| Sewing tape measure | Starting at $3 |
| Medium boards | Approximately $15 per square meter |
| Masking tape | $1 per roll |
Leave a Reply