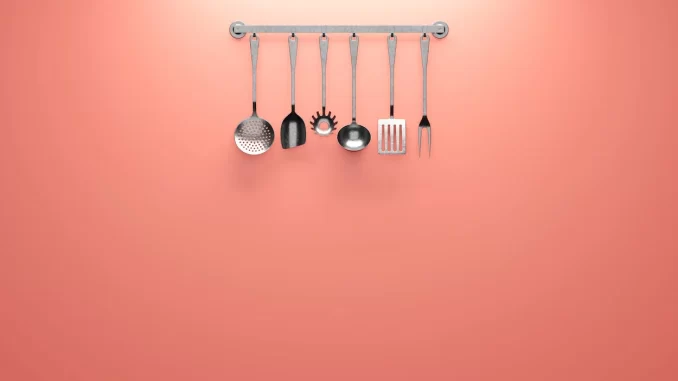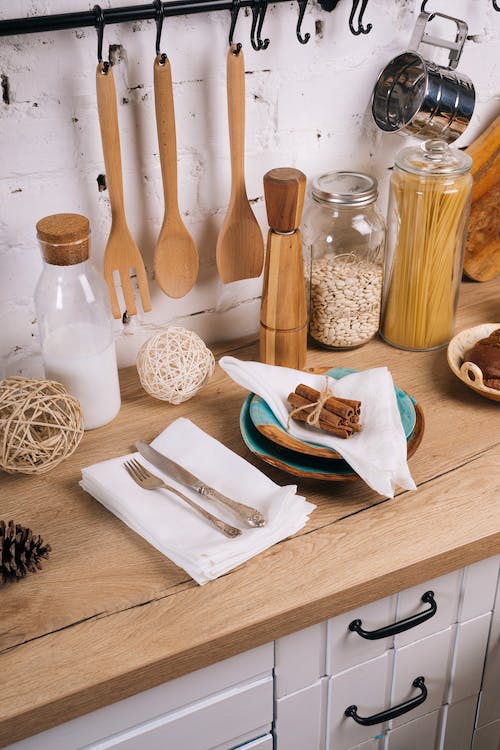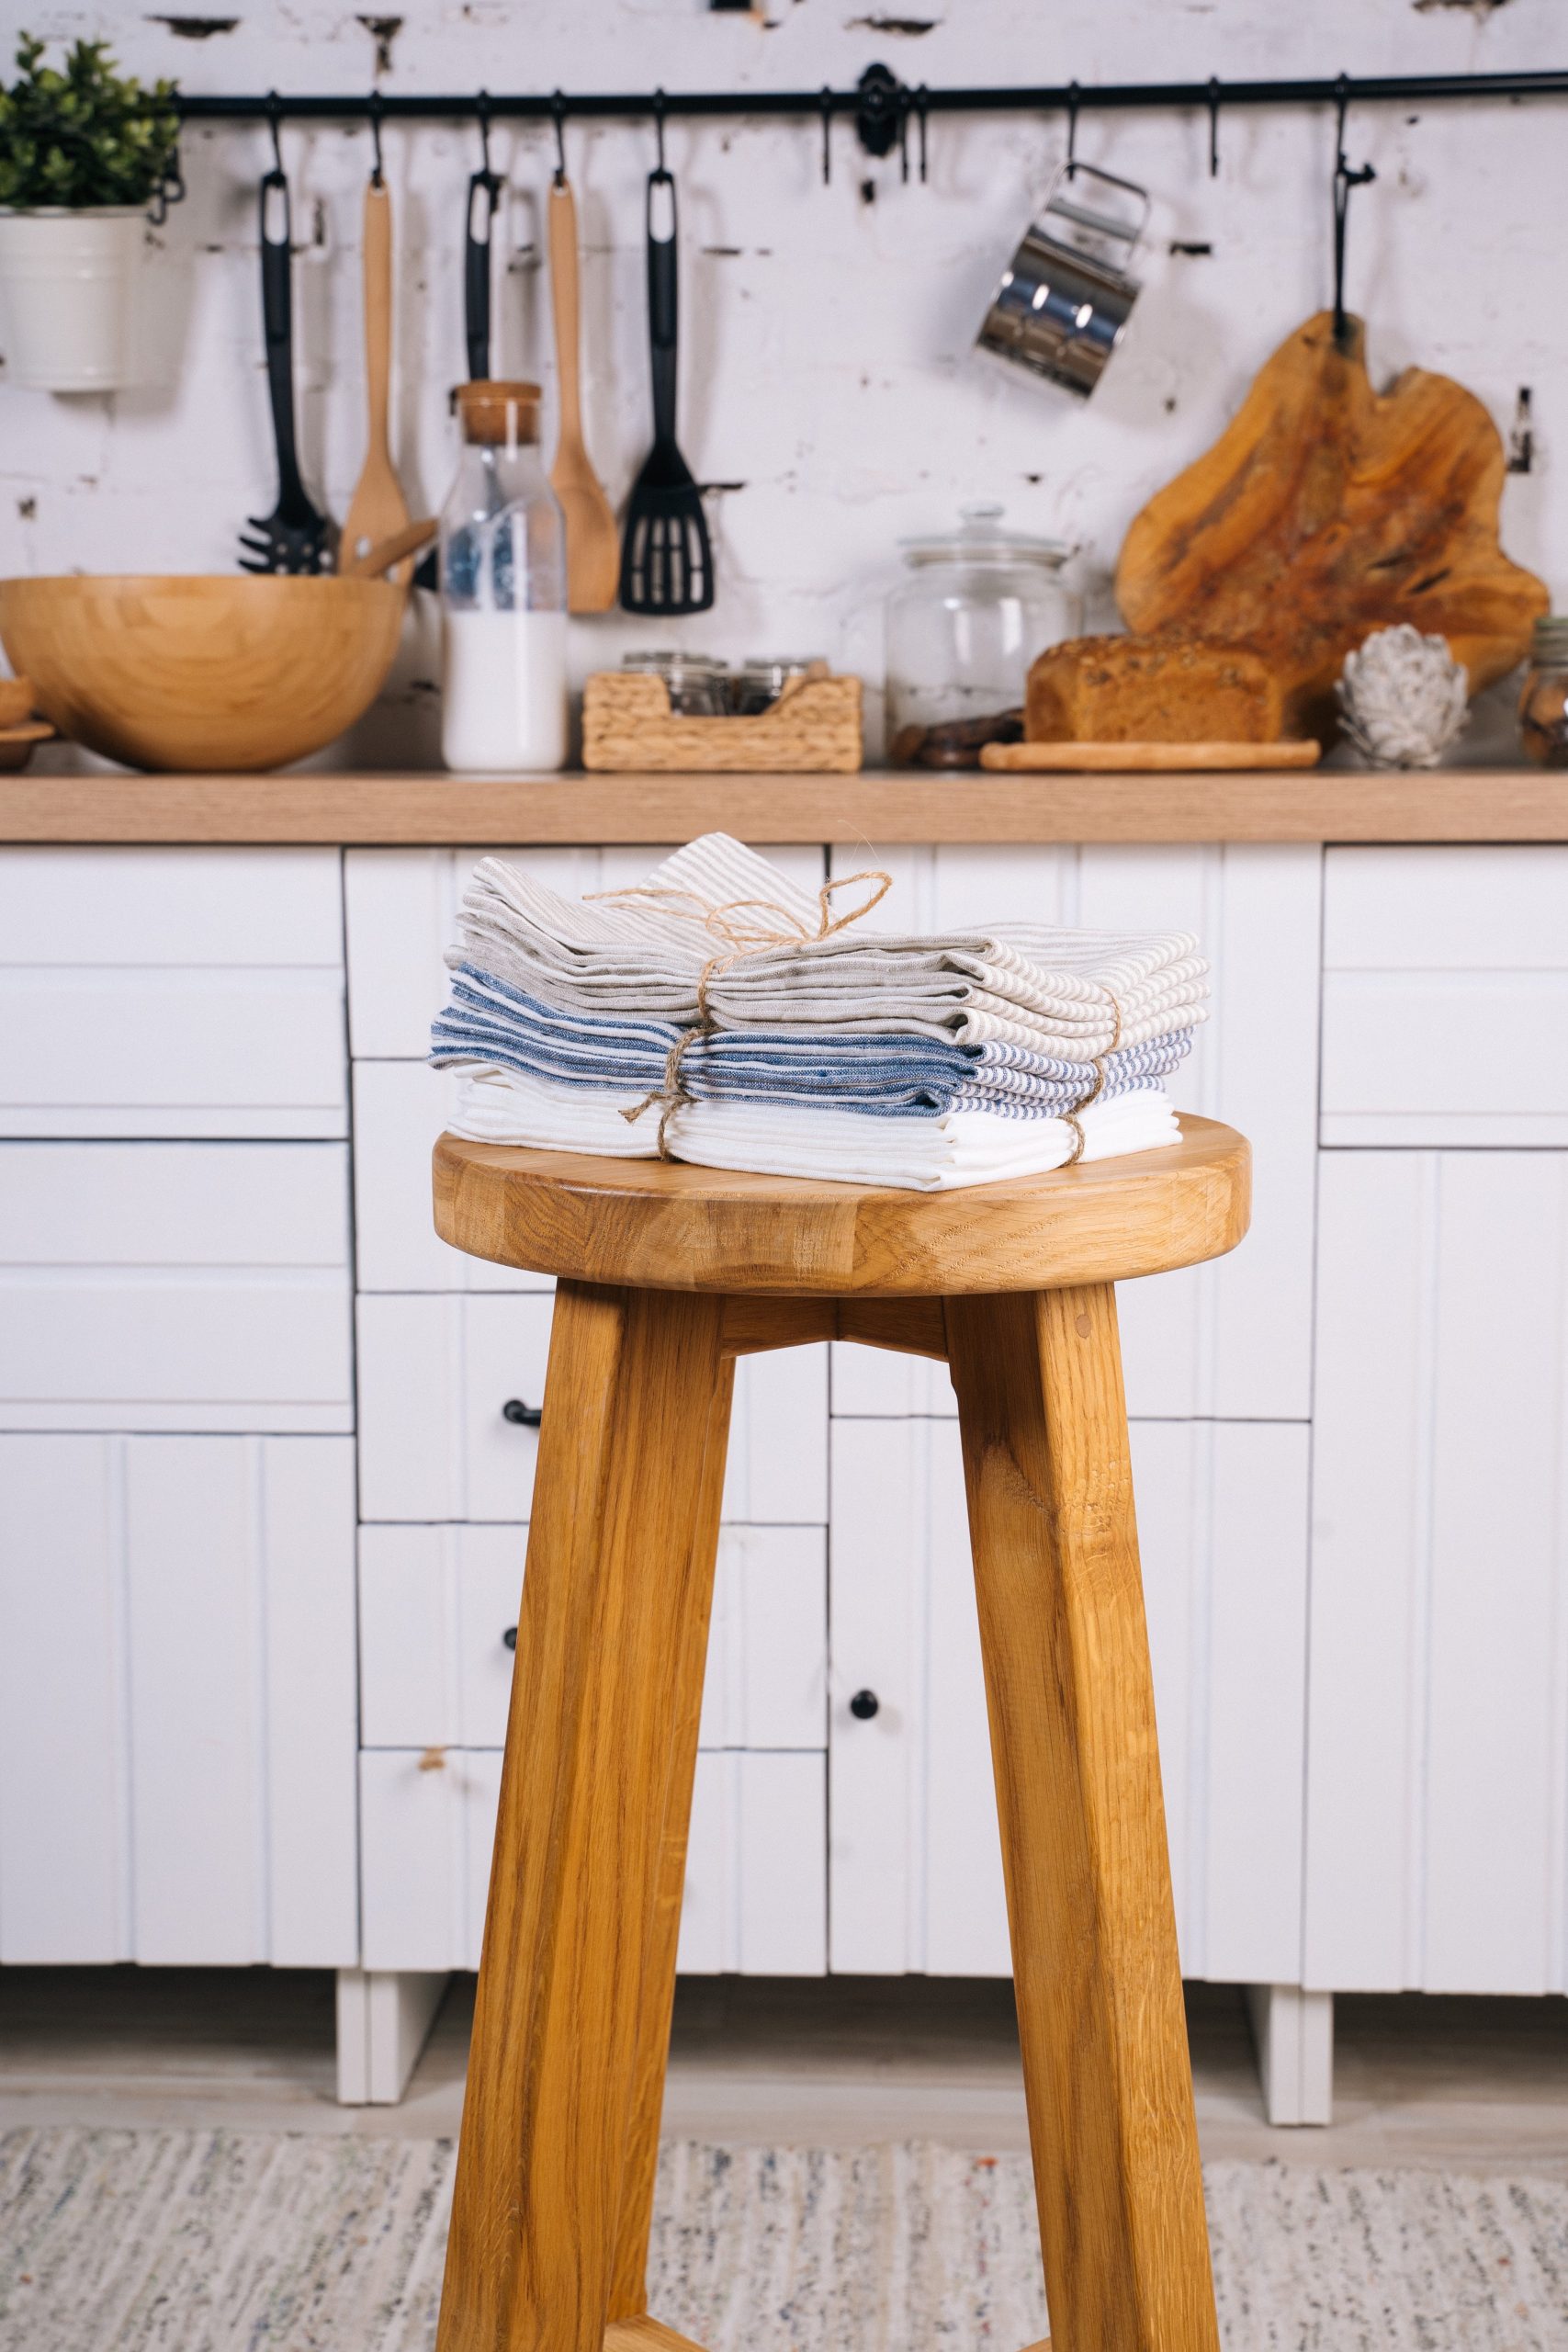
In the bustling heart of your home — the kitchen — optimizing space and functionality is key to a seamless cooking experience. One ingenious way to achieve this is by installing a utensil bar. This guide will walk you through the process in 5 straightforward steps, ensuring your kitchen not only becomes a hub of culinary creativity but also a stylish haven for your cooking essentials.
1. Selecting the Perfect Spot
Begin by identifying the ideal location for your utensil bar. Consider spaces near the cooking area for easy accessibility.
Proximity to Workspace
Choose a spot close to your primary workspace, whether it’s the stove or countertop. This proximity ensures that your most-used utensils are within arm’s reach during meal preparation.
2. Choosing the Right Utensil Bar

With various styles available, selecting a utensil bar that complements your kitchen’s aesthetics is crucial.
Matching Your Kitchen Decor
Opt for a bar that aligns with your kitchen decor. Whether it’s sleek and modern or rustic and traditional, the utensil bar should seamlessly blend with the overall design.
3. Gathering Your Tools and Materials
Before diving into installation, gather the necessary tools and materials for a smooth process.
Essential Tools
Ensure you have basic tools such as a level, measuring tape, and a power drill. These tools will facilitate accurate installation and a secure fit.
Materials for Securing the Bar
Depending on your kitchen walls, gather suitable anchors or screws. If you’re unsure, consult with a local hardware store to determine the best materials for your specific wall type.
4. Marking and Measuring with Precision
Before making any drill marks, take the time to measure and mark your chosen spot meticulously.
Measuring for Accuracy
Use a measuring tape to determine the desired height for your utensil bar. Consider the length of your most-used utensils for a personalized and ergonomic placement.
Marking Drill Holes
Mark the spots for drill holes with precision. Using a level ensures that your utensil bar will be straight and visually appealing once installed.
5. Effortless Installation: Securing Your Utensil Bar in Place

With measurements and markings in place, proceed to the installation phase.
Drilling Holes
Using the marked spots as a guide, carefully drill the necessary holes. Be mindful of the depth to ensure a secure fit for the anchors or screws.
Securing the Utensil Bar
Once the holes are ready, secure the utensil bar in place. If using anchors, insert them before attaching the bar. For screws, use your power drill to affix the bar securely to the wall.
6. Arranging Your Kitchen Essentials
With your utensil bar securely installed, the final step is arranging your kitchen tools and essentials.
Organizing by Size and Usage
Arrange utensils by size and frequency of use. This organizational strategy enhances both the visual appeal and practicality of your utensil bar.
Adding Stylish Hooks
Consider adding stylish hooks to the bar for additional hanging space. This is especially useful for smaller kitchen tools or items with hanging loops.
In conclusion, as you embrace the newfound ease of access to your kitchen essentials, revel in the stylish orderliness that the utensil bar brings to your culinary haven. This simple yet impactful addition not only elevates the practicality of your cooking space but also enhances its aesthetic appeal, turning every culinary endeavor into a delightful experience. With each utensil hanging gracefully within arm’s reach, the fusion of convenience and design sophistication becomes a defining feature of your kitchen. Say goodbye to cluttered drawers and welcome an organized, visually pleasing atmosphere that adds a touch of charm to your daily cooking routine. The utensil bar isn’t just a functional choice; it’s a statement, transforming your kitchen into a space where efficiency meets elegance, and where every cooking adventure becomes a celebration of style and order.

Leave a Reply