

Contents
– Step 1: Prepare the installation of your cornice lights
– Step 2: Prepare the cornices
– Step 3: Install your cornices
– Step 4: Install your lights
– Step 5: Finish the cove lights
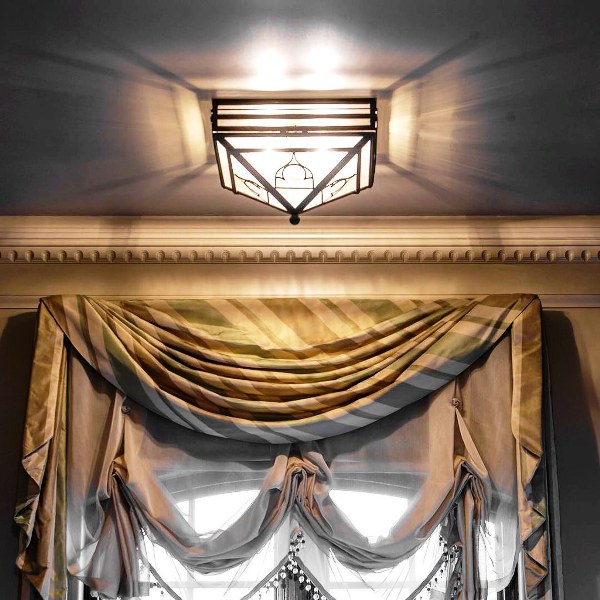
Coving is available in various styles with cornice lights adding a special touch to your room with indirect lighting that creates a fresh ambiance by diffusing a more subdued light. Thus, you will find classic cornices with more or less worked mouldings or more contemporary cornices to answer all your decorative desires. To be glued or clipped, their installation does not present any particular difficulty. As for lighting, LED technology is the most suitable: sold in rods or ribbons, LED bars are flat, white or multicoloured, of variable intensity, easy to install, have a longer life than neon lights and do not heat up.
Here is a step-by-step guide on how to make a cornice light.
Important: Before installing your cornices, plan their power supply.
1. Prepare the installation of your cove lights
If the cornices are not made of metal, store them in the room for 48 hours before installation to avoid deformations due to temperature differences.
The top of the cornice should be located at about 10 cm from the ceiling. So if the cornice is 10 cm high, the support line is to be drawn on your walls 20 cm from the ceiling. Thus:
– On the entire contour of the room, draw reference points at the desired height (for example, 20 cm from the ceiling).
– Use a spirit level and a mason’s rule to connect these reference points. The support line drawn around the room serves as a guide for installing the mouldings.
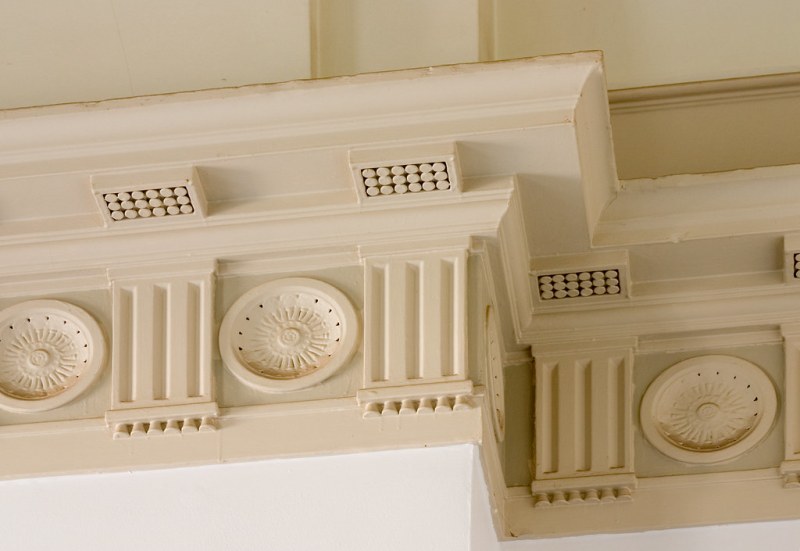
2. Prepare the cornices
The quality of the final product depends mainly on the attention given to this step.
To prepare the cornices:
– Measure the walls and then transfer these dimensions to the cornices.
– Cut each cornice with a mitre box and a fine-toothed saw to ensure that the cuts are clean and precise.
Tip: Pay attention to the direction of the corners!
Lightly sand the cuts with a fine-grit sandpaper.
– Check your work by temporarily taping the cornices to the wall.
– Readjust the corners and lengths if necessary.
– Place a reflective strip on the back of the cornice so that the light will only shine towards the ceiling and not through the cornice.
Tip: You can use self-adhesive vapour barriers!
3. Installing your cornices
Wood and polystyrene mouldings: Apply a bead of glue on the cornice and apply it to the support line.
Plaster or polyurethane mouldings: Double glue and remove the excess glue.
Clip-on mouldings: Attach the clips, place glue on the cornice and insert it into the clips.
Note: Start the installation of the mouldings at a corner.
For wood and polystyrene mouldings, make a gluing
Note: use glue adapted to the cornice and the support.
Proceed as follows:
– Apply a bead of glue to the cornice and then apply it to the support line.
– Hold the moulding firmly for the time indicated on the glue.
For plaster or polyurethane mouldings, double glue them.
Proceed as follows:
– Apply a bead of glue to the cornice.
– Apply the moulding to the support line and remove it immediately.
– Wait a few minutes until the glue no longer sticks to your finger.
– Without adding glue, reapply the moulding to the support line.
– Remove excess glue with a spatula and then with a damp sponge.
– Finally, wipe with a dry cloth.
For clip-on cornices
Here’s how to do it:
– Attach the clips or mounting rails to the wall as indicated on the manufacturer’s instructions.
– Apply glue (suitable for the cornice) to the cornice.
– Insert the cornice into the clips or rails.
– Force the cornice to the wall for a few minutes.
4. Install your lights
You can turn on LED bars with a switch if you have planned it or with remote control.
Tip: Some LED bars are sold with fittings that allow for right angles and long lengths.
To install your lights:
– Install your LED bars along the entire length of your ledges.
– Connect the transformer to the power supply.
5. Proceed to the finishing of the lighted cornices
Mask the joints and possible traces of the point if the mouldings are nailed.
You may want to skip the finishing touches. However, this is the essential step for a professional look.
Mask the joins and possible marks of point if the mouldings are nailed:
– with wood filler and a small spatula for wooden mouldings, and sand lightly with fine sandpaper after drying;
– with a filler or glue for staff, polyurethane or polystyrene mouldings.
Note: depending on your project, you can paint all or part of your mouldings with vinyl or acrylic paint.
Leave a Reply