

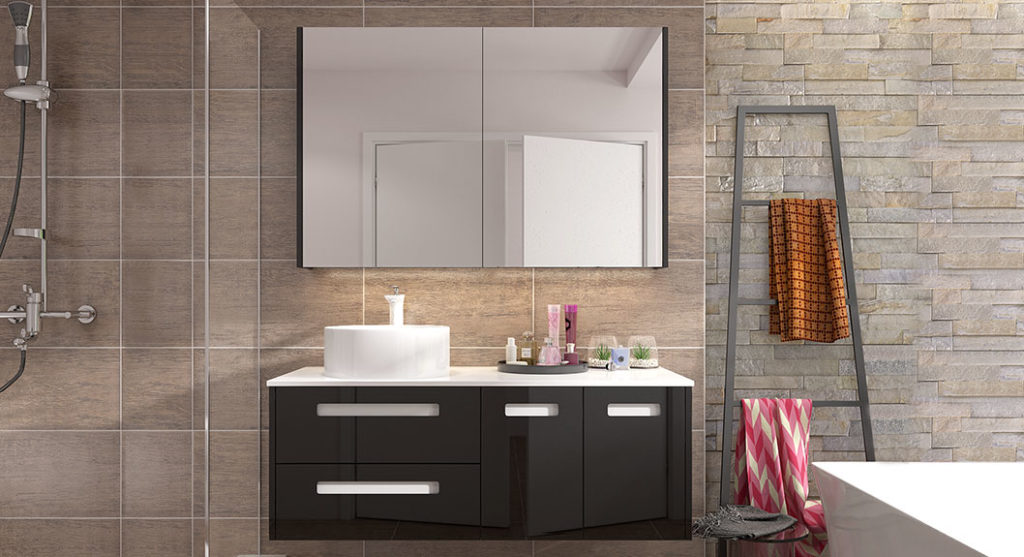
Everyone dreams of a bathroom that is well-lit, elegant, and well-maintained. Well, sometimes mirrored bathroom cabinet is a simple, cheap addition to your other bathroom furniture or bathroom suite that can increase the sense of light and space in the room, provide you with a handily located mirror for shaving or applying make-up, and accommodate your medicines, beauty products or other odds and ends.
Installing a cabinet on your wall sounds simple, but is it?
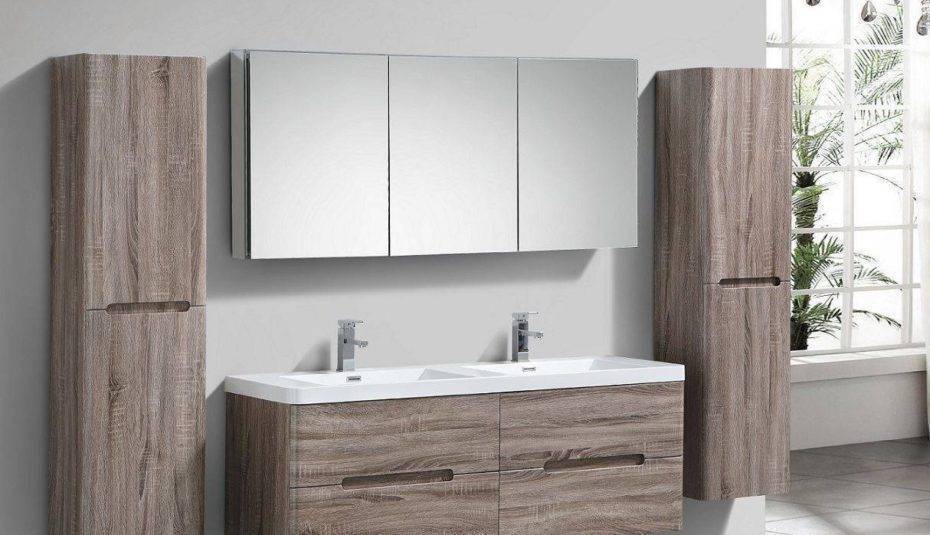
Think about where you want the cabinet to be situated. Above the basin is a popular spot, if you have opted for bathroom furniture with a mirrored door; above the toilet is another place where you can take advantage of otherwise wasted wall space. Think about who will be using the cabinet (and if there are any children whose access you wish to limit) when deciding on the best location and height for your cabinet.
The first stage is measuring. This stage is critical to your eventual success: if you don’t measure accurately, you may have to drill more than once, and you could also find that your cabinet, once secured on the wall, doesn’t hang quite straight. So, measure, then double check your measurements. Hold, or ask a helper to hold, the cabinet in its correct place on the wall. Use a spirit level to get the cabinet exactly straight, then draw a pencil line along the top. This line will be hidden from sight once the cabinet is in place if you are fitting the bathroom furniture so that its top is above eye level.
Measure from the top of the cabinet down to the fixing holes. If your cabinet has not been supplied complete with pre-drilled fixing holes, you’ll need to drill these yourself, reinforcing the cabinet if necessary to make sure the holes don’t split with the weight of both cabinet and contents when the cabinet is fixed in place; most shop bought bathroom furniture is supplied pre-drilled to make fitting simpler for the customer, however. Measure the distance between fixing holes, as well. All your measurements should take the center of the fixing hole (not the edge) as the point to which you measure.
Next, measure down from the top line on your wall to the level of the fixing holes. Mark the wall at this point, and measure horizontally along this new line to make sure your fixing hole marks are in the correct place, both in relation to each other and in relation to surrounding items. If you want your cabinet to be above your basin, in the center of the space available, then measure the space from side to side, locate the center point, and measure out an appropriate amount on each side of the center to mark your fixing holes, to ensure the center of your cabinet will hang in the center of the space. Do not assume that pre-drilled fixing holes will be equidistant from the center of the bathroom furniture – check!
Now it is time to secure fixings on your wall from which to hang your cabinet. You will need to use a different technique for fixing bathroom furniture onto a masonry and plaster wall, a stud wall, and a dry lined wall.
On a masonry (brick or blockwork) wall, covered with plaster, ensure that you use sufficiently long screws so that the wall itself, rather than the plasterwork, supports the weight of the bathroom furniture. Drill your holes, fit wall plugs, then screw into the wall plugs: this should provide a firm mount in most cases. Try to ensure, if you can, that you drill into bricks or blocks rather than into the mortar between them, which will be softer and less supportive. Drill carefully into blockwork, which is often softer than brick, to avoid over enlarging the holes, and use special wall plugs for this type of wall.
Stud walling is plasterboard fixed to vertical timber supports (or studs). Fixings for your bathroom furniture need to be screwed into the studs as plasterboard alone will not be strong enough to support the weight of the cabinet. Find the position of the studs by tapping on the wall: the area with the stud behind it will sound solid while other areas of the wall will sound hollow as you tap. The screws can be fixed into the wall directly; no wall plugs are needed.
Dry lining walls are walls where the plasterboard is fixed to the blockwork wall with blobs of adhesive so that it stands away from the surface of the blockwork. Cutting out a small section of plasterboard around each fixing hole and screwing through a wooden ‘spacer’, slotted into this gap, into the wall behind means that behind the screw you’ll have a secure base of solid wood against solid blockwork which will support the screw as it holds the weight of your bathroom furniture. If you did not do this, the weight of the cabinet could cause the unsupported surface to deform. Once the cabinet is hung on the wall, you will not be able to see any of the modifications you have made to the wall.
If your bathroom wall is tiled, you will need to be extra careful as you drill the holes to fix your bathroom furniture to the wall. Your drill bit needs to be strong: either a carbide tipped masonry drill bit, or a diamond tipped drill bit will be most suitable for tile. The hard, glazed outer surface of the tile makes beginning to drill the trickiest part. Try scoring an X in the tile to give you more surface traction to get started. Drill slowly, building up speed as you go but bearing in mind that persistence, not brute strength, is the key to boring through tile without cracking it. Use cold water to lubricate the top if the drill bit and keep it from overheating if your tiles are hard or thick. When both tile and wall are drilled through, insert your wall plugs, as necessary. Ensure that the wall plug is fully in the wall, so that only the unthreaded top section of the screw sits in the tile: any expansion of the wall plug in the drilled section of tile could cause the tile to crack.
Your bathroom furniture, once installed, should last you for a number of years, and if you are not a regular DIYer, you’ll be able to feel proud of your installation efforts each time you see it. You can always hire Desire Home Deco that has years of experience serving New York City by remodeling their kitchen cabinets, countertops, and bathroom vanities. Whatever the size of the project, they focus on giving your kitchen and bathroom a much spacious, luxurious, and practical feel after the remodeling.
Leave a Reply