

Keeping fish has proven effects in reducing stress and improving mental health, so it’s no surprise that more and more people are choosing to keep them in their own home.
With a huge variety of tank sizes to choose from, and a wealth of fish in all different shapes and colors, there is something to suit everyone who wants to venture into the world of aquariums.
In this article, we’re going to explain how to set up a freshwater fish tank including preparing the tank, installing the equipment, cycling the tank and acclimatizing fish.
Step One: Plan your Tank
This is the step that most people miss out, yet it is the most important one if you want to have a successful, thriving aquarium. Before you even begin to look at tanks, or equipment, you need to decide what species you would like to keep in your tank.
The type of fish and invertebrates that you decide to keep will determine the size of your tank, the water conditions within the tank, the equipment you need, and the types of plants you need. Sit down and make a plan about exactly what you want from your tank. Once you know the species you want to keep, you can move on to buying the tank and the right equipment. If your tank is small, you might want to use a piece of paper, the same size as the bottom of your tank and plan out where you want your plants and decorations to go to ensure you have enough space.
Step Two: Prepare the Tank
Before you start adding any water you need to make sure the tank is clean. If you’ve bought a new tank you’ll just need to use a damp cloth to wipe off any dust it’s gathered. It’s important to also remember that any equipment you use for your tank (e.g. cloths and buckets) should be new and only ever used for your tank so you don’t get any household chemicals or other products in your tank.
If you’ve bought a used tank you’ll need to give it a bit more attention. Remove any debris from the tank, and use vinegar and kitchen roll to clean the tank. Clean both the outside and the inside of your tank. Be careful doing this if you’ve bought an acrylic tank. Acrylic can scratch extremely easily, so you’ll need specific cleaning cloths for an acrylic tank.
Once you’ve cleaned your used tank you’ll need to check it is leak proof. To do this, fill it with a couple of inches of water and leave it for an hour. Run your finger around the bottom edge to see if there are any leaks. If you do find any, you can use an aquarium sealant to reseal the tank.
Now it’s time to get your tank into the right position. Make sure you place it somewhere out of direct sunlight, and near a power supply. You also need to make sure that the stand you’re putting your tank on is suitable and strong enough – putting water in the tank can add a lot of weight to the whole tank. Once your tanks in the correct position, you need to make sure it’s level. You can do this one of two ways. You can either use a spirit-level, or you can fill it with an inch or two of water and see if it’s level by eye.
Step Three: Add the Substrate and Water
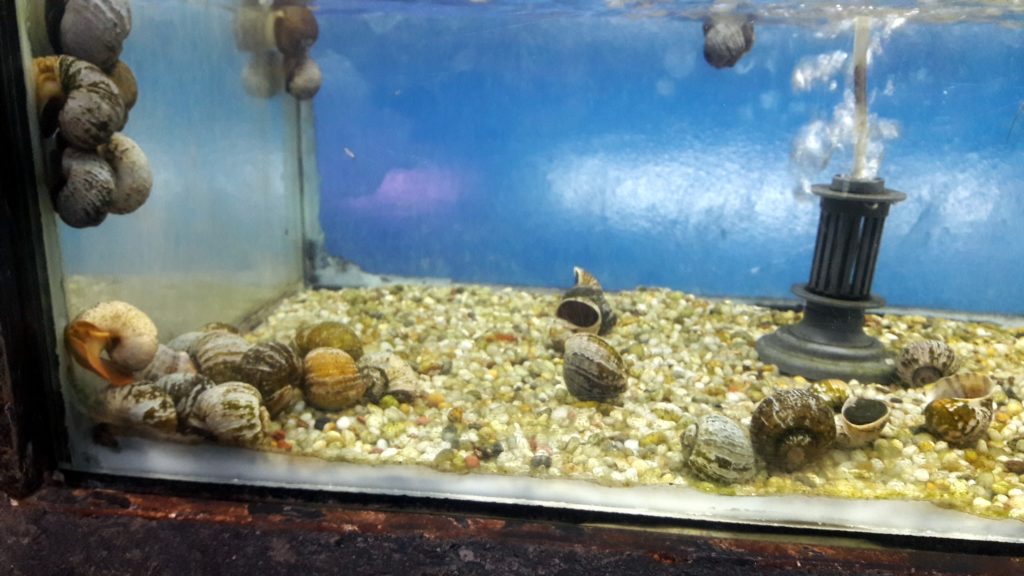
Your tank is now clean, in the right position and level. Now it’s time to prepare your substrate and add the water. The type of substrate you choose is down to your personal preferences, but will sometimes be determine by the type of fish and plants you want to keep. The amount of substrate you need depends on how thick you want it. A good rule of thumb to follow is 1lb of substrate per gallon of water; this will be enough to make a 1” thick bed. If you want it thicker, 2lbs per gallon will create a 2” bed of substrate.
You’ll need to rinse the substrate before you add it to the tank. You can do this by putting small amounts in a bucket and fill it with cold water. Use your hand to swirl the substrate around and carry on rinsing it until the water is running as clear as possible.
If you have a lot of gravel to clean, you might want to consider doing this outside with a high pressure hose. Keep pouring the water out of the bucket, and spraying again until the water is clear. Some substrates (e.g. powder-coated gravels) don’t do well being washed this way and the water just gets more and more cloudy. Just try to remove as much dust as possible and use less vigorous hand movements.
Now your substrate is clean you can add it to the tank. Start off adding just a thin layer to make sure you don’t scratch the bottom of your tank, and then you can pour the rest in. When you pour the rest of your gravel in, think about whether there are any areas you’d like raised a bit higher, perhaps to bury the roots of plants into. It’s common to see aquarium gravel running in a slope, from the highest point at the back of the aquarium to the lowest point at the front.
Now your substrate is in, you need to fill the tank up with water. To prevent your gravel or sand from being disturbed as you pour water in, you can use a saucer or a bowl. Place the saucer wherever is easiest to tip the water in, and slowly start pouring your water in.
When the tank is full, you’ll need to add a de-chlorinator to the water. Follow the instructions on your bottle. It usually gives you the ratio in mls per gallon, for example, 1 ml of de-chlorinator per 20 gallons.
Step Four: Install the Equipment
Your tank is full of water and substrate, now it’s time to install the equipment. At a bare minimum, most set-ups require a filter. All installations of filters vary depending on the brand you’ve chosen. You will either have opted for an internal or an external filter. Internal filters are relatively easy to install, start off by assembling all the parts. The filter needs to go on the back wall of your tank, and the wire needs to reach a power supply. If you’ve chosen an underwater gravel filter you’ll need to install that before adding the water. Always make sure the filter is properly installed before you turn it on at the power supply.
External filters usually sit within the stand, below the tank. An external filter carries the water out of the tank, and to the filter below to clean in, and then sends it back to the tank. Always make sure that the inlet and outlet tubes are straight with no bends or kinks so the water can travel out of (and back) into the tank freely. Most external filters need to be full of water before you plug them into the power supply – this is called priming the system, which gets water moving through the filter.
Once you’ve installed the filter, you need to install the heater (if you’ve chosen a tropical or saltwater set up). Most heaters are pretty self-explanatory and come with a dial on the top to choose the right temperature. They also have a line which shows you have far to submerge the heater. Always place your heater on one side of the tank, and install a thermometer on the opposite side to ensure your tank is heated consistently throughout the tank.
If you’ve bought any other equipment which needs installing, such as air pumps, stones and lights, you should do this now.
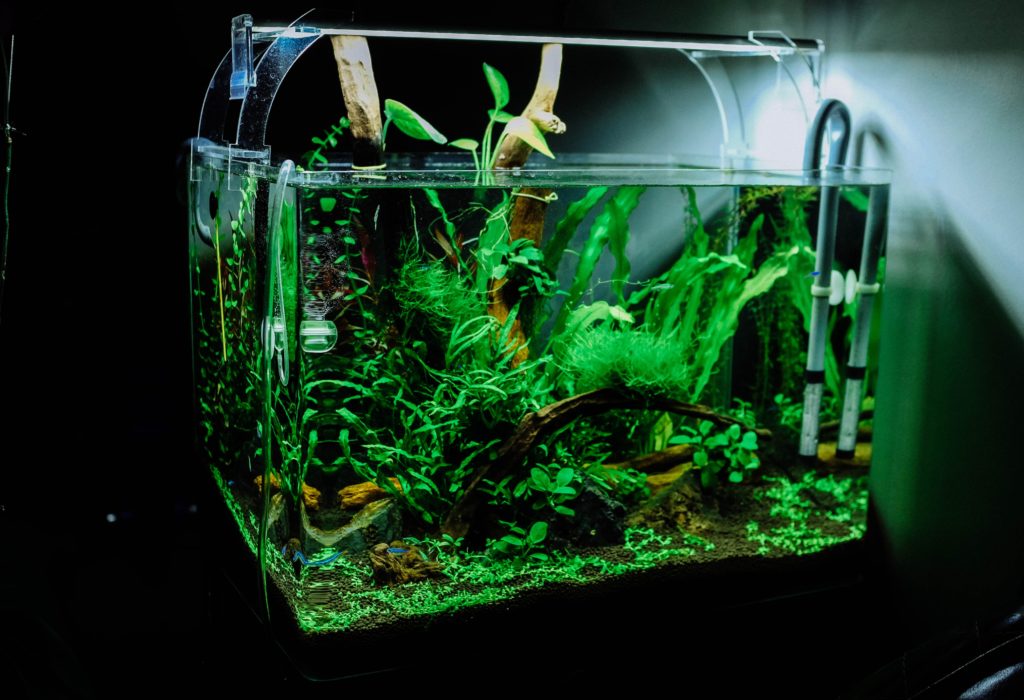
Step Five: Add Plants and Decorations
Now you’ve finished setting up all the operational parts of the tank, you can focus on making it look how you’ve envisaged. You might want a heavily planted tank; you might want a very natural looking tank with some large stones, driftwood and just a few plants. Or you might want to create a theme based on a movie.
Whatever you choose, make sure you follow the plan you made at the start of this process to help with the layout of your tank. Rinse each item to remove any dust before putting them in, and then place them in the appropriate place.
When you’re positioning your plants, you’ll find that some plants, such as Anacharis do better as background plants and some do better in the front. Always carry out research into the placement of plants to make your tank as visually appealing as possible. When it comes to planting them, you’ll also need to make sure you follow the advice for each species. Most plants can be buried straight into the substrate, however some plants such as Java Fern, need to be attached to driftwood before putting them in the tank.
Step Six: Cycle the Tank
You’ve finished setting up your tank! Whilst it may look ready for fish, you’ll need to be patient and wait until your tank is cycled before you can add any. Cycling the tank means you are building up a bacteria ‘bed’ in your biological filter which is essential for the health of your future fish. This is known as the Nitrogen Cycle.
To begin the process, add some ammonia into your tank, this is readily available in almost all fish stores, including AquaTee Fishland. Follow the instructions on the bottle; some recommend that you add a large dose at the start, others recommend adding a certain dose per day.
Carry out tests on your tank once a week to check the levels, you’ll see the ammonia and nitrite levels spike and then start to drop. Once they reach zero (0ppm), your tank is fully cycled.
Step Seven: Add Your Fish!
This is the step you’ve been so patiently waiting for! You’ve probably invested quite a lot of time and money into your setup and are excited to introduce fish to your tank.
You need to make sure you add your fish slowly over a period of a few weeks (or months); the amount you can add depends on the size of your tank. Start off by adding no more than one inch of fish per 10 gallons.
You then need to acclimatize your fish. The purpose of acclimation is that fish are sensitive to any changes in their water, so moving them from one tank to another should be done slowly. It’s likely that the water they are currently in is slightly different to your tank temperature, pH and salinity parameters.
To acclimatize your fish, follow these steps:
- Turn off the aquarium lights and dim the lights in the room.
- Float the bag for 15 minutes to allow it to adjust to the temperature.
- Cut the bag open at the top, and roll the bag down creating an air pocket so the bag floats.
- Add ½ a cup of water from your aquarium to the bag.
- Repeat every 4-5 minutes until the bag is full.
- Discard half of the water from the bag (not into the aquarium) and add ½ a cup of water again, every 4-5 minutes until the bag is full for a second time.
- Using a net, slowly pick up the fish and remove it from the bag, adding it to your aquarium.
- Discard the water in the bag.
- Observe your new fish over the next 24 hours period to ensure they are settling in well, and eating properly.
Hopefully you now feel confident enough to set up your first fish tank. Let us know about your set-up, and any difficulties or successes you’ve had in the comments section below.
Leave a Reply